Yibai Insights
Explore the latest trends, news, and insights from around the world.
Snap That Snack: A Playful Dive into Food Photography
Discover mouthwatering food photography tips and tricks that will make your snacks the star of the show! Snap, savor, and share!
10 Tips for Capturing the Perfect Food Photo
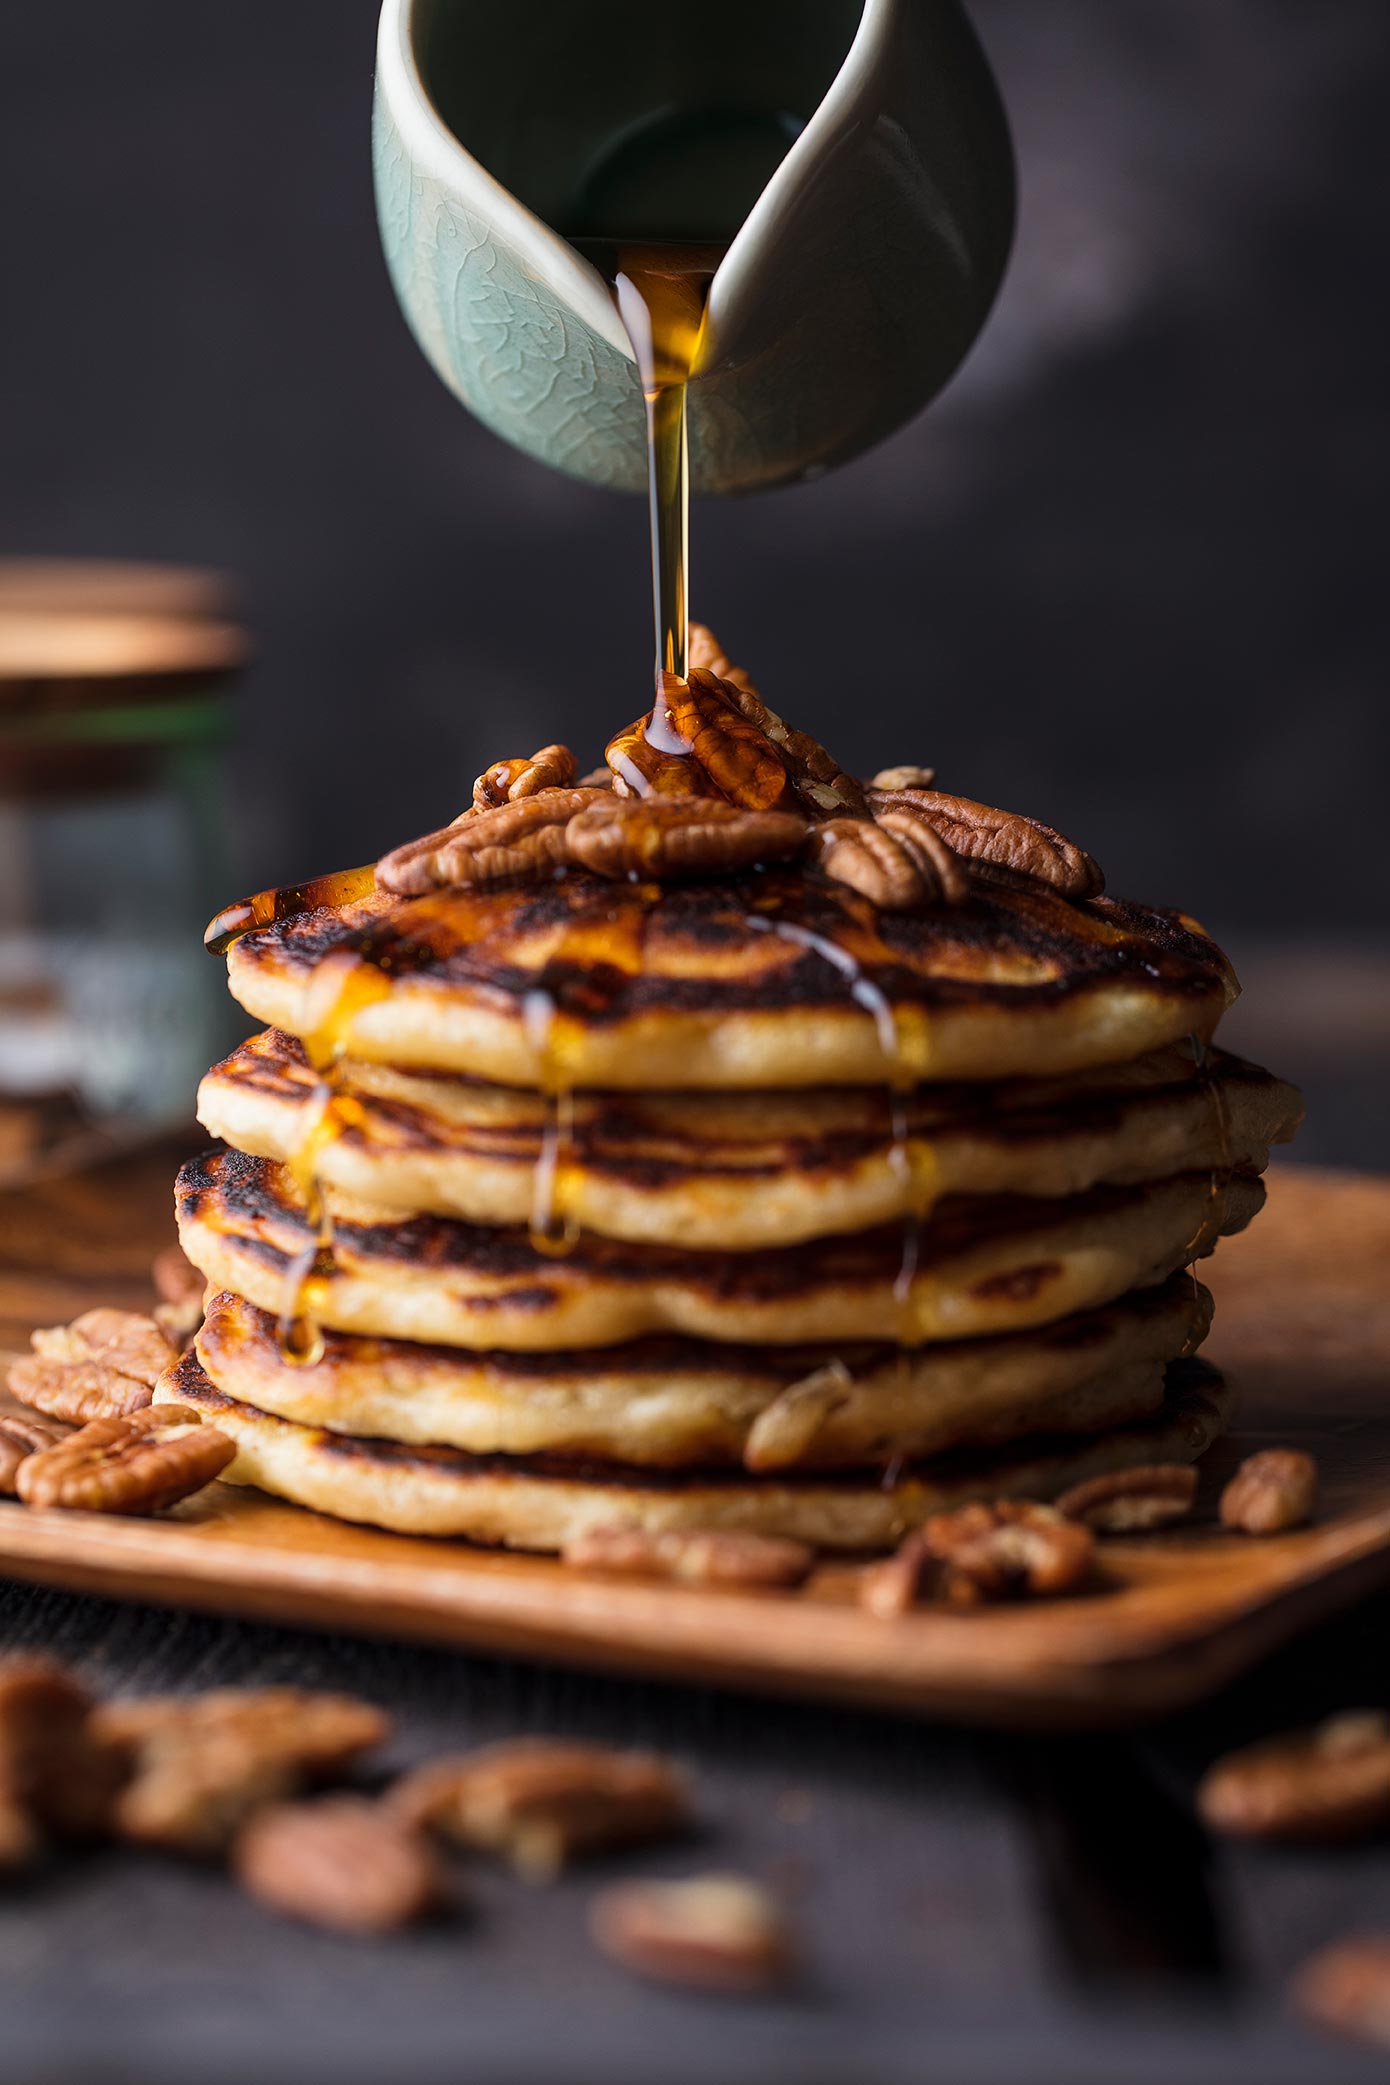
Capturing the perfect food photo is both an art and a science. To start, consider the lighting—natural light is your best friend. Avoid harsh overhead lighting and try to shoot near a window during the day for soft, diffused lighting. Next, focus on the composition of your shot. Use the rule of thirds to guide your framing; imagine your image is divided into nine equal parts and place your main subject along these lines or at their intersections. Lastly, don't forget about the background; a clean and uncluttered background can make your dish stand out more vividly.
When it comes to styling your food, props play an essential role in setting the mood. Utilize items like plates, utensils, and napkins that complement the colors and textures of your dish. Additionally, capturing food from various angles can create a dynamic feel to your photos—consider trying overhead shots or close-ups to highlight intricate details. For the final touch, don’t hesitate to enhance your images with a light touch of photo editing to adjust brightness, contrast, and saturation without overdoing it. Following these 10 tips will significantly improve your food photography skills!

How to Use Natural Light for Stunning Food Photography
Using natural light effectively can dramatically enhance your food photography, making your dishes look more appealing and appetizing. To get started, choose a time of day when natural light is abundant, typically during the early morning or late afternoon when the sun is low in the sky. Position your food near a window to take advantage of this soft, diffused light. Avoid direct sunlight as it can create harsh shadows and overexposed highlights. Instead, use sheer curtains to filter the light, creating a more gentle illumination that flatters the food.
Additionally, consider the direction of the light when setting up your shot. For a more dimensional look, aim for side lighting, which can accentuate textures and create shadows that add depth. Placing your dish at a 45-degree angle to the light source often yields the best results. Remember to experiment with different angles and compositions; sometimes, a top-down view can be effective, especially for flat lays. By mastering the interplay of natural light and thoughtful composition, you’ll elevate your food photography to a new level.
What Props Enhance Your Food Photography Style?
When it comes to food photography, props play a crucial role in enhancing the overall visual appeal of your compositions. From utensils and linens to backgrounds and garnishes, the right props can significantly elevate your images, making the food the star of the show. Consider incorporating items such as colorful plates, textured napkins, or rustic cutting boards that complement the colors and textures of your dish. By choosing props that align with your culinary theme, you can create a more engaging atmosphere that invites viewers to connect with the story behind the food.
Another key aspect is the use of natural elements like herbs, fruits, or vegetables as props. These not only add depth to your images but also suggest freshness and attention to quality. Experiment with various compositions, layering props like food styling tools or decorative elements around your main dish to create a balanced layout. Remember, the goal is to enhance your food photography style while remaining authentic to the flavors and presentation of the food itself.